Tuesday, December 27, 2022
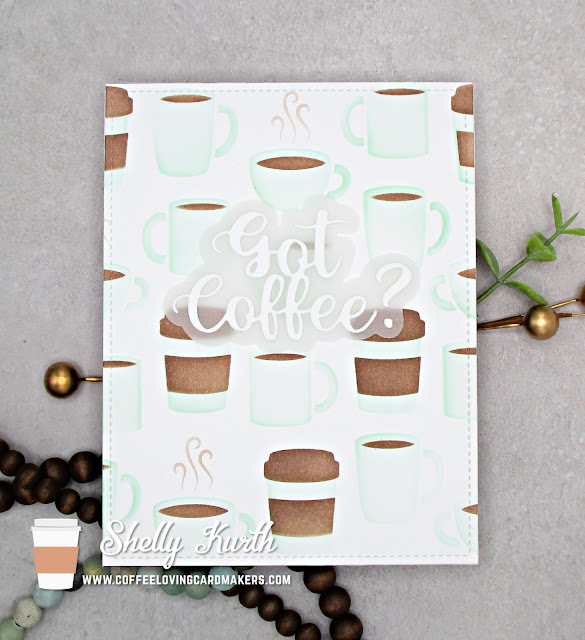
Got Coffee?
Saturday, December 17, 2022
Donut Doubt...
Have a great day and see you soon!
Tuesday, December 13, 2022
CLC post-Stay warm
Hi y'all!
Happy Tuesday, hope all is well?!...I'm up on the Coffee Loving Cardmakers blog today sharing this fun card!
You can find all the details about my card on the CLC blog. I would appreciate it so much if you would swing by the CLC blog and maybe even leave some love there. ;)
Thanks so much for stopping by! Enjoy your day and see you soon!
Wednesday, December 7, 2022
Sending my love
Hi y'all!
Happy Wednesday, hope all is well! :)
I'm swinging in today to share a card for Amy's Woodblock Wednesday feature. Without further ado, here is my card...
I sure haven't pulled out DeNami Design woodblocks in a moment. (lol) I forgot how sweet they just are! Do you have any DeNami Design stamps?...If so, I'd love to hear which ones you have! :)
I kept things simple and just did some coloring with Copics and then added a few gems. After, I added on a hot foil sentiment and that's it. Simple, right?!...
Thanks so much for stopping by!
Have a great day and see you soon!
P.S.
Don't forget you can play along with Amy's Woodblock Wednesday, too! All the info can be found on her blog, HERE. ;)
Tuesday, December 6, 2022
Season's Greetings
Hi y'all!
I'm swinging in today, here on my blog, as well as the Scrapbook Pal blog.
I think by now we all know time flies on by, especially with the holiday season. With that being said, we sometimes can use a quick and easy holiday card. Using Spellbinders Sealed for the Holidays Collections you can easily do so! ;)
Let's make this card!
1. Start with Spellbinders Sealed for the Holidays Collection-Holly Sprigs, Christmas Tree, and Holiday Squiggles and cardstock colors of your choice. In this case, I used white, gold glitter, and red cardstock. (set things aside when done.)
2. Take a piece of kraft cardstock and add some white splatters to it. To do so, use Lawn Fawns Yeti ink and tap it onto a piece of acetate/clear stamping block,etc. and add a little water to it. Use a paint brush to pick up the ink and splatter it onto the kraft. (Let dry) Then use a bone folder and rub/push it onto the edges of the cardstock, to give it somewhat of a rustic look.
3. Arrange the die cut pieces...however you like! For this card I layered and overlapped things here and there, and even added some foam squares on some pieces.
4. Make a 'seal'. Using the Spellbinders Faux Wax Seals set makes it so easy! Use the dies with cardstock of your choice. For this card/seal I used pink. Don't put things together yet, though. Tip: layer the outer ring of the seal a few times to make it look more like a true wax seal.
5. Stamp on the sentiment. Use Spellbinders Dancin' Holiday Sentiments stamp set and the Season's Greetings stamp with Lawn Fawns Jet Black ink.
6. Now, let's put together the wax seal and add it to the card.
7. To finish things off, add a touch of bling using Spellbinders Spectrum AB gems.
You made this card, just in time for the holidays! :)
Feel free to visit the Scrapbook Pal blog to see my project over there and maybe even leave some love there. <3
Thank you so much for stopping by!
Have a great day and see you soon!
Products used: Spellbinders Sealed for the Holidays Collection-Holly Sprigs, Christmas Tree, Holiday Squiggles, Lawn Fawn-Yeti ink pad, Spellbinders-Faux Wax Seals stamp and dies set, Spellbinders-Dancin' Holiday Sentiments stamp set, Lawn Fawn-Jet Black ink pad, Spellbinders-Color Essential Gems Spectrum AB, Scrappy Tape 1/4", Lawn Fawn-Glue Tube, 3L Scrapbook Adhesives-foam squares.
Sunday, December 4, 2022
JOY
Have a great day and see you soon! :)


.jpg)
.jpg)


.jpg)