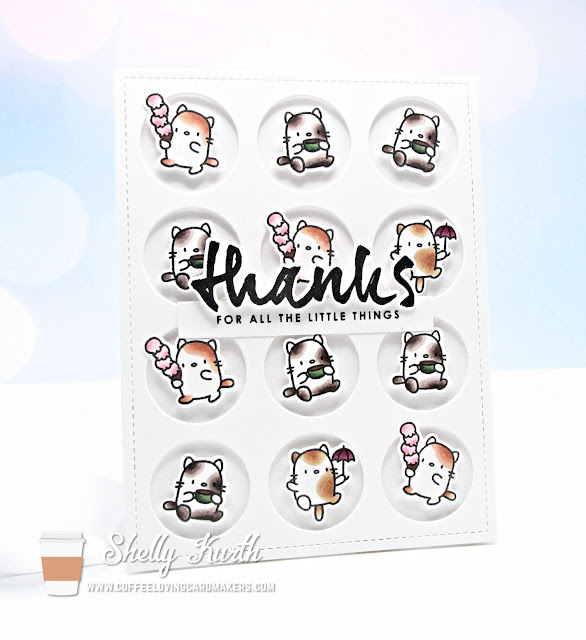
Have a wonderful day!
Tuesday, December 26, 2023
Coffee Loving Cardmakers-Year in Review
Have a wonderful day!
Wednesday, December 13, 2023
National Cocoa Day!
Have a wonderful day and see you soon!
Tuesday, December 12, 2023
Noel
Tuesday, November 28, 2023
Coffee goes with everything
Have a wonderful day and see you soon!
Wednesday, November 15, 2023
Caffeinated Christmas Card Challenge(reminder)!
Have a great day and see you soon!
Tuesday, November 14, 2023
Hey there
Monday, November 6, 2023
Fall/Winter Coffee Lover's Blog Hop-Be Merry
Have a wonderful week!
Friday, November 3, 2023
Coffee Lover's Fall/Winter Blog Hop!
Have a great day and see you soon!
Wednesday, November 1, 2023
Caffeinated Christmas Card Challenge!
Have a great day and see you soon!
Saturday, October 28, 2023
Hello my friend
Hi y'all! I'm up on the Scrapbook Pal blog sharing a fun and simple card. While it may not look simple, trust me it is! I'm using Honey Bee Stamps Bountiful Banner stamps along with the matching Bountiful Banner dies.
1. Stamp on the Bountiful Banner stamp using black ink and on a marker friendly paper. Also, stamp on additional flowers and leaves.
2. Using Copic Markers B18, B28, B39, and 100 color things in.
3. Use the matching Bountiful Banner die with the colored images.
4. Place the die cut image onto a white cardbase using foam squares on the back.
5. Add on the additional flowers and leaves with foam squares on the back. *note: I only added 4 flowers and 2 leaves.
6. Use the 'banner' die on marker friendly paper and using the same color as before, color the banner.
7. Stamp on the sentiment in black ink and then use the matching die with it.
8. Add the colored banner and sentiment to the card.
9. Top things off with a touch of gems.
Thank you so much for stopping by!
Have a wonderful day!
Products used: Honey Bee Stamps-Bountiful Banner stamp set, Honey Bee Stamps-Bountiful Banner die set, Copic Markers-B18, B28, B39, 100, Pinkfresh Studio-Champagne Glitter Drops, Bearly Art Glue, and 3L Scrapbook Adhesives-White Foam Squares.
Tuesday, October 24, 2023
Who's got the coffee?
Have a great day and see you soon!
Friday, October 13, 2023
Ugly Sweaters?...
I’m playing with Lawn Fawn’s Ugly & Bright stamp set and die set! I kept things simple and had some fun with things.
I stamped out the images on a marker friendly cardstock and then colored them using Copic markers. After, I used the matching dies and assembled each reindeer.
I used a couple little pieces of Lawn Fawn’s Knit Picky papers and then added on the reindeers. To finish things off, a sentiment stamped on white cardstock and trimmed into a banner and a touch of enamel dots. Fun, right?!
Products used: Lawn Fawn-Ugly & Bright stamp set, Lawn Fawn-Ugly & Bright die set, Lawn Fawn-Knit Picky paper pad, Altenew-Glacier Caves enamel dots, Copic markers-R29, R89, R00, G19, G29, B000, B00, B18, B39, RV00, RV02, Y17, E55, E57, E59, E49, E79, E30, 0, 3L Scrapbook Adhesives-white foam squares, Bearly Art glue.
Tuesday, October 10, 2023
All the little things
Have a great week and see you soon!
Wednesday, September 27, 2023
hello there
Have a great day and see you soon! :)
Tuesday, September 26, 2023
Just A Note-National Coffee Day Hop Week
Have a great day and see you soon!
Saturday, September 23, 2023
There's no place like home for the holidays
Hey y'all!
I'm up on the Scrapbook Pal blog today sharing this card...
Something about the smells in the air of cinnamon, nutmeg and even pumpkin. Don't you just love the holidays, especially when you're at home? Lawn Fawn's new Winter Birds Add On stamp and die set combined with their Winter Wonderland Window die makes for a sweet holiday card!
Let's make this card!
1. Start with stamping all the images on marker friendly paper and do all the die cutting using white cardstock and Spiffy Speckles pattern paper (for the background behind the window die cut).
2. Color in images using Copic markers. E31, E23, E27, E47, B0000, B000, R27, R89, B18, B29, B39, C5, Y11, Y15.
3. Take your white card base and adhere the die cut window with the spiffy speckles behind it, along with foam squares on the back of it.
4. Adhere colored die cut images (using foam squares on the back of some of the images) and adhere additional die cut snowflakes.
5. Stamp on sentiments to white cardstock, cut into strips/banners and add foam squares on the back. Add to card.
That's it! You made this card!
Products used: Lawn Fawn-Winter Birds Add On stamp set, Lawn Fawn-Winter Birds Add On die set, Lawn Fawn-Winter Wonderful Window die set, Lawn Fawn-Spiffy Speckles paper pad, Lawn Fawn-Jet Black ink, Lawn Fawn-Black Licorice ink, Copic Markers-E31, E23, E27, E47, B0000, B000, R27, R89, B18, B29, B39, C5, Y11, Y15, Bearly Art Glue, 3L Scrapbook Adhesives-white foam squares.
Saturday, September 16, 2023
Cookies...
Enjoy your weekend and see you!!
Wednesday, September 13, 2023
Thank you
Hi y'all!
Today, I'm sharing a card I designed for Scrapbook Pal.
Are you a fan of monochromatic color schemes or sepia color schemes? I love them, even though I don’t always use them. However, they seem to give such an impact and that’s what I did for this card.
I used Spellbinders Stylish Oval Birthday Wishes stamp set. I simply stamped on the image using marker friendly ink, as well as cardstock. Then I used Copic Sketch Markers E34, E57, and E18 to color things in.
Lastly, I outlined the image using Copic Sketch Marker BG10 and then added Spellbinders Two Tone Teal enamel dots. Oh, and don’t forget to add the sentiment! (heehee) Simple, right?
Thanks so much for stopping by!
Have a great day and see you soon!
Main Products used: Spellbinders-Stylish Oval Birthday Wishes stamp set, Copic Sketch Markers-E34, E57, E18, and BG10, Spellbinders-Two Tone Teal enamel dots, Lawn Fawn-Jet Black ink.


.jpg)


